How to Clean Your Own Carpets
5-Step DIY Guide and Bonus Tips
Is your carpeting looking a little worse for wear these days? Are mysterious stains and funky odours making you dread taking your shoes off when you get home? Don’t panic. This guide will teach you how to clean your own carpets. With the right techniques and products, you can get your floors looking fresh and clean again.
DIY carpet cleaning is a great way to save money and make sure your floors stay in tip-top shape. By regularly vacuuming, spot treating, and deep cleaning, you can keep dirt, allergens, and stains from building up in the fibres. Not only will your home be cleaner and healthier, but your floor covers will last longer too.
With just a few basic supplies and these step-by-step instructions, you’ll be ready to tackle even the dirtiest carpeting.
Getting Started
| Method | Time to Clean | Prep Time | Cost | Difficulty | What You Need |
|---|---|---|---|---|---|
| Vacuuming | 10-20 mins per room | 5 mins | $-$$ for vacuum | Easy | Vacuum, attachments |
| Spot Cleaning | 5-15 mins per stain | 2 mins | $ supplies | Easy | Towels, cleaner, water |
| DIY Deep Clean | 30-60 mins per room | 15 mins | $ supplies | Moderate | Bucket, scrub brush, cleaner, towels |
| Rent Machine | 30-60 mins per room | 15 mins | $$ machine rental | Moderate | Machine, cleaner, towels |
| Hire a Pro | n/a | None | $$$-$$$ | n/a | None |
Supplies You’ll Need
Start by gathering the key tools and products you need:
- A good vacuum cleaner – Look for one with strong suction and a rotating brush attachment
- Cleaning solutions – For DIY options, you’ll want white vinegar, baking soda (sodium bicarbonate), dish soap, hydrogen peroxide, and salt
- Clean cloths and paper towels
- Scrub brushes – Opt for ones with stiff bristles
- A bucket and spray bottle
With these basics, you’ll be ready to clean. Let’s go over when and how often you should be getting those covered floors sparkling.
How Frequently Should You Clean Your Carpet?
To keep carpeted floors looking fresh, aim to:
- Vacuum at least once a week – More often if you have kids or pets.
- Spot clean spills and stains immediately as they occur.
- Deep clean every 6 months.
Consistency is key for reducing the dirt and allergens tracked in and trapped by fibres.
Test for Colourfastness
Before you start cleaning, it’s crucial to test for colourfastness to ensure that the carpet cleaners you use won’t cause any damage or discolouration to your carpet fibres. Here’s how to do it:
- Choose an inconspicuous area of your floor covering, such as a corner or behind a piece of furniture.
- Apply a small amount of your cleaning solution to a white cloth.
- Gently dab the rag onto the fabric and wait a few minutes.
- Check the towel for any colour transfer. If you see any, your carpet is not colourfast. You’ll need to use a different solution.
It’s essential to perform this test beforehand to avoid any potential damage or costly replacements.
5-Step Process for Cleaning Carpets
Step 1: Vacuum
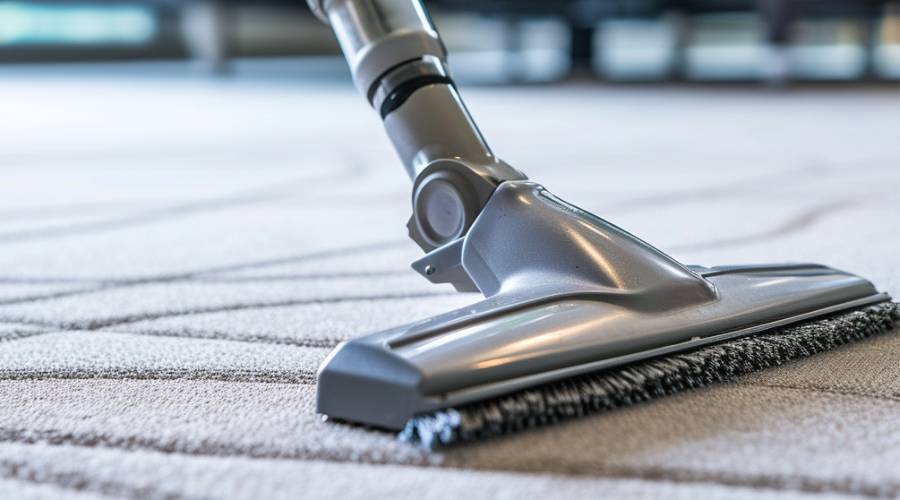
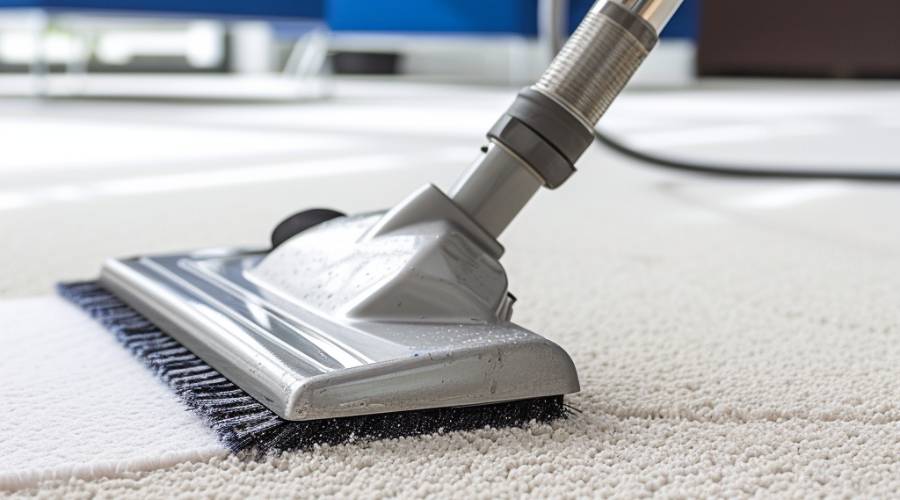
The first step in getting your carpeting clean is to give them a good, thorough vacuuming. This will help remove any loose dirt, dust, and debris that’s been hanging around, making it easier to tackle those deeper stains.
When you’re vacuuming, make sure to:
- Move furniture out of the way so you can get to all the nooks and crannies
- Go over each area multiple times to ensure you’re getting all the dirt
- Use the crevice tool to get into tight spaces and along baseboards
- Empty the vacuum bag or canister when it gets full to maintain suction power
Regular vacuuming in between deep clean will make the next session easier.
Step 2: Spot Clean
Next up, take a good look at your carpets and identify any particularly stubborn stains that need some extra TLC. Apply cleaning solution directly to these problem areas and let it sit for a few minutes to penetrate the fibres.
When spot cleaning, keep in mind:
- Test the solution on a small, hidden area first to make sure it won’t cause any discolouration or damage
- Don’t be too heavy-handed with the solution – a little goes a long way
- For tough stains, try using a mixture of equal parts white vinegar and water
- If you have pets, consider using an enzymatic cleaner specifically designed to tackle pet stains and odours
Always blot out or treat fresh stain immediately to prevent them from being permanent. This will make DIY stain removal easier.
Step 3: Scrub Thoroughly
Using your scrub brush, gently work the cleaning solution into the stains using circular motions. Be careful not to scrub too hard, which can damage the delicate carpet fibres.
While you’re scrubbing, remember to:
- Work from the outside of the stain towards the centre to avoid spreading it further
- Rinse your brush often in clean water to avoid re-depositing dirt and grime
- Take your time and be thorough – rushing through this step won’t do you any favours
Step 4: Rinse and Repeat
After you’ve given your floors a good scrubbing, rinse away all that dirt and cleansing solution. Use a clean towel or sponge dipped in fresh water to thoroughly rinse the area. Make sure to remove all traces of the product, as any residue left behind can attract more dirt and make your carpets look dull and dingy.
When rinsing, be sure to:
- Use clean, cold water – hot can set some stains
- Wring out your cloth or sponge frequently to avoid oversaturation
- Go over each area repeatedly to ensure all the cleaning solution is removed
- Blot the area with a dry towel to remove excess moisture
Step 5: Dry It Out
Finally, the last step is to let your carpets air dry completely before walking on them or replacing any furniture. Depending on the humidity levels in your home and the thickness of your carpets, this could take anywhere from a few hours to a full day.
To speed up the drying process, you can:
- Open windows and turn on fans to increase air circulation
- Use a dehumidifier to remove excess moisture from the air
- Avoid walking on the carpeted floors until they’re fully dry to prevent matting and re-soiling
BONUS: Deep Clean Periodically
Every 6 months, do a thorough deep cleaning to sanitise carpets and remove grime. There are a few options:
- Scrub with a vinegar solution – Mix 1 part vinegar and 3 parts water. Scrub into the cover using a stiff brush. Blot and let dry.
- Try the baking soda method – Sprinkle the powder over the carpeted floor. Spritz with water and scrub using a brush. Blot up residue with towels.
- Rent a steam cleaner – Uses hot water and a cleaning solution to extract dirt from the fibres.
Battling Tough Carpet Stains
Certain stains seem nearly impossible to conquer. Check out these tips for removing some of the hardest carpet stains:
Red Wine
Red wine can leave carpets looking like a crime scene. Try using salt: pour club soda on the stain then cover with salt. After it dries, vacuum up the residue. Baking soda pastes also work to draw out wine stains.
Pet Urine
Your cat or dog may be family, but their accidents aren’t your favourite. Mix equal parts water and vinegar with a bit of sodium bicarbonate. Spray on pet stains and let sit briefly before blotting.
Gum
Ah, the dreaded gum blob tangled in the fibres. Freeze it off with an ice cube then scrape with a dull knife. Wipe any remaining stickiness away with vinegar.
Candle Wax
Wax drips from candles or warmers can be a pain. Place an old cloth or paper towel over the wax stain and run a warm iron over it to melt the wax so it transfers from the carpet to the cloth. Repeat as needed.
Oil-Based Paint
Oil paint spilled from an art project requires a solvent like paint thinner or rubbing alcohol to break down the stain. Always blot; scrubbing can push the paint deeper into the padding.
As you can see, almost any stain can be conquered with the right techniques. With some elbow grease and DIY motivation, you can get your carpets clean and save your budget for something more fun.
Conclusion
Cleaning your own carpets can be a bit of a chore, but the results are well worth it. By following these simple steps and tips, you can keep your floors looking fresh and clean all year round. So go ahead, grab your supplies, and get to work. There are benefits to hiring pro cleaners. It doesn’t hurt to start with DIY, however.


